DIY. 3D postcard. Cat and fireplace
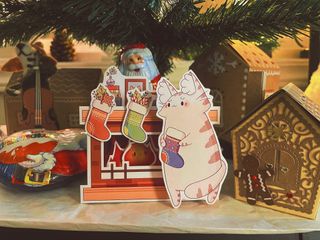
A detailed guide on how to glue a postcard with a cat, fireplace and fire slime. It's very simple, the main thing is to not hurry and be careful :) Let's go!
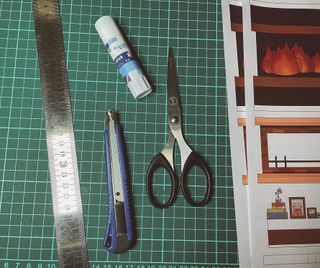
First, the necessary tools.
Minimum:
- scissors (preferably two types, large and small, manicure ones can be used)
- paper glue
- ruler, preferably iron, so you don't scratch it with a knife
- paper cutter
- thick useless cardboard
Better than minimum:
- scissors (preferably two types, large and small, manicure ones can be used)
- double-sided tape (it is more difficult with it, since you need to immediately glue it accurately, but it does not ripple the paper like glue does and keeps it tight)
- knife for curly cutting
- embossing stylus
- ruler, preferably iron, so you don't scratch it with a knife
- double-sided foam tape (I immediately cut it into squares)
- cutting mat
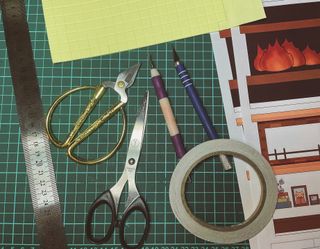
Everything will work out great too with a minimum, it's just not as comfortable as with a full set of tools.
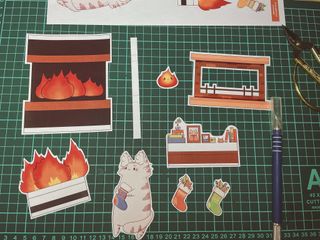
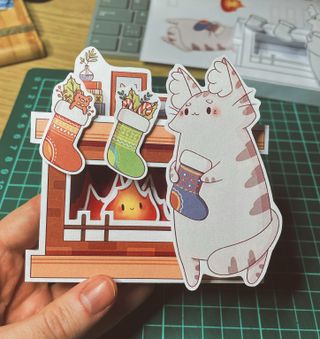
Cut, fold, glue.
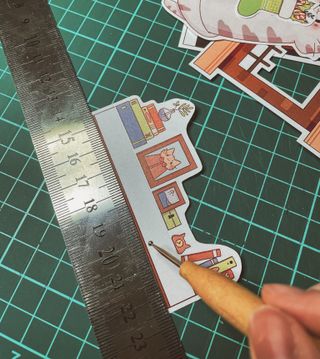
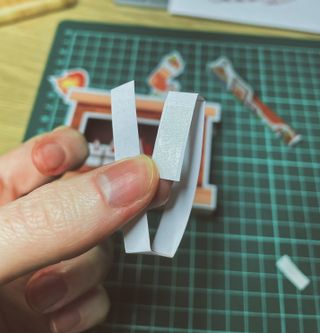
To begin with, we cut everything along the line, so that the line is cut off and is not visible on the elements. Of the three socks, you need to choose two that you like more, the third one is not needed. Also, if you have foam tape, three horizontal rectangles are not needed. We cut out the window in the fireplace with a cutting knife, placing a piece of cardboard, or preferably two, underneath to avoid damaging whatever you place it on (or with a curly knife on the cutting mat, like I do).
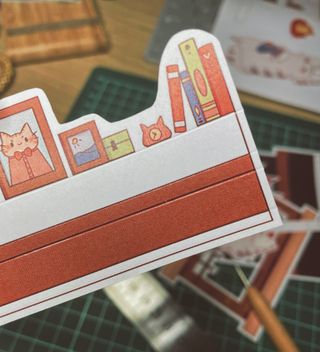
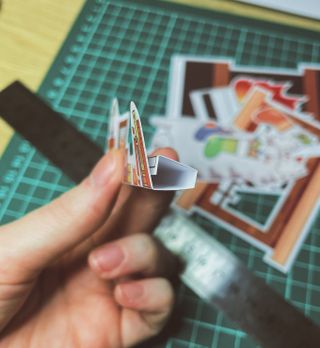
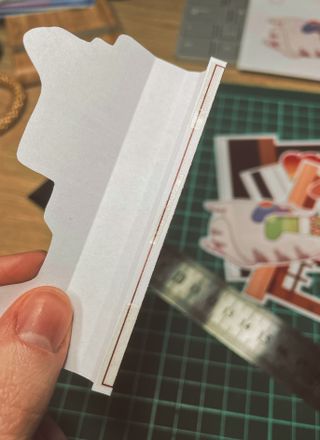
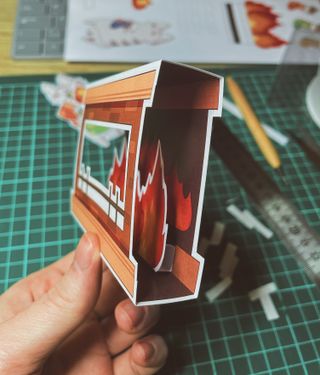
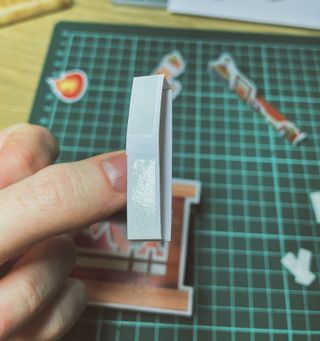
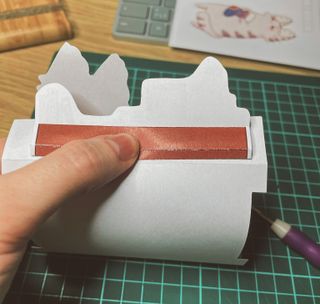
Fold the element with trinkets on the fireplace - the shelf. We put the ruler down and trace the fold lines with embossing stylus. If you don't have a stick - just do it carefully with your hands.
Bend the holder by the shelf as you see on the photo and glue it. Do not be afraid to press with your fingers when folding along the fold lines - the structure is flexible and can easily straighten back.
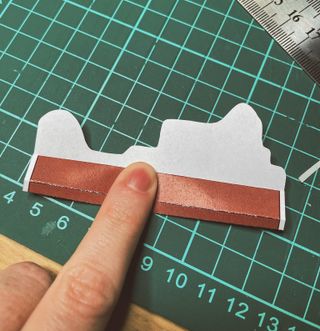
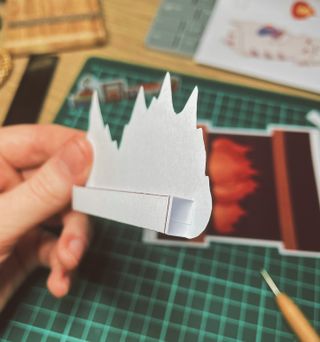
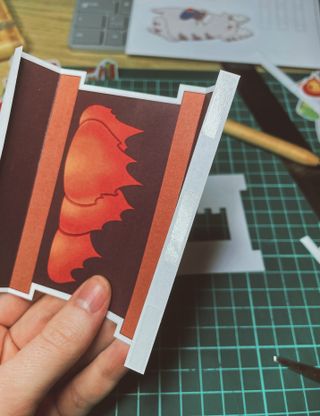
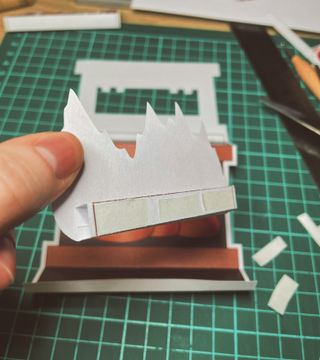
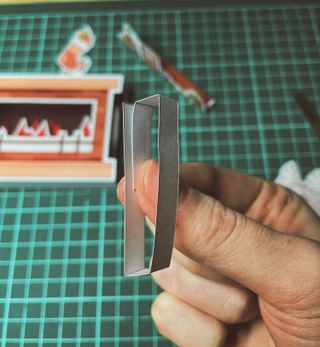
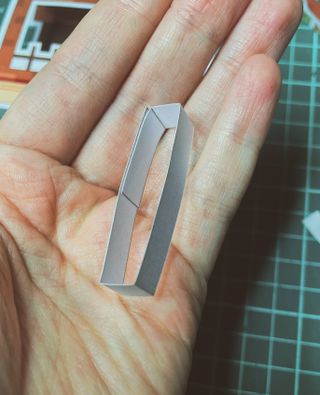
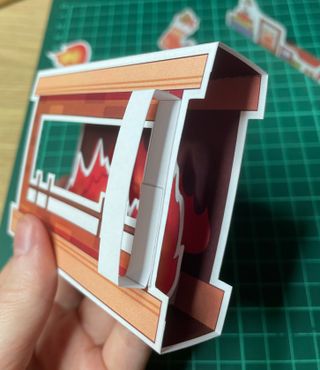
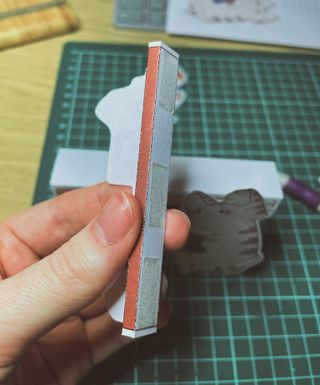
Now bend, roll up and glue the holder by the flame.
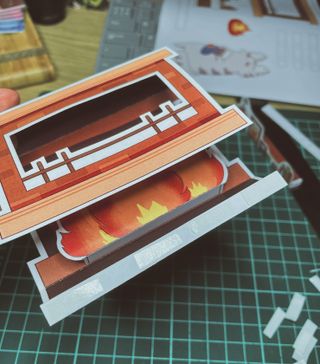
Now we are preparing the base - the fireplace. If you want to decorate the card with congratulations - now is the time. Write it on the back of the far side of the fireplace in the center, without going over the folds.
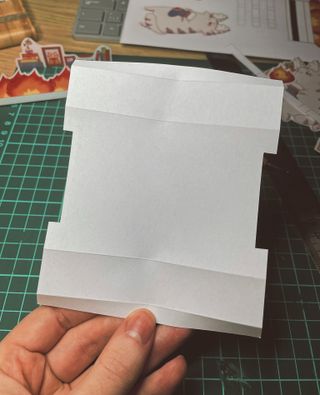
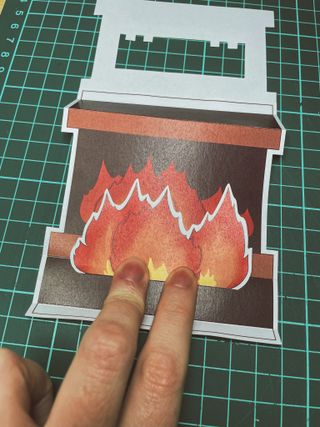
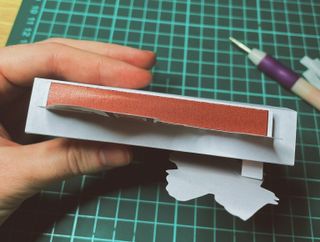
Bend the parts as in the photo and glue the front of the fireplace, but for now only on top.
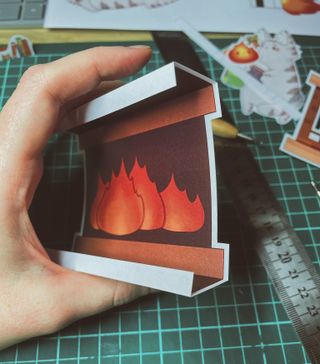
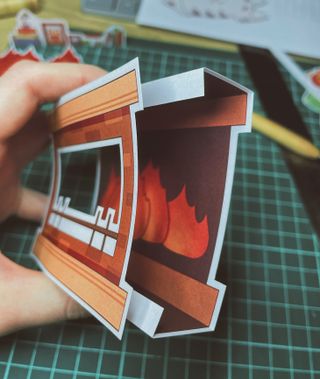
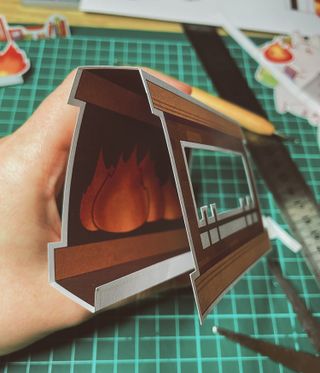
Glue the element with the flame in the open fireplace, glue it not from below, but to the back wall of the fireplace. This will allow the card to fold flat so that it can be placed in an envelope. Perhaps, if glued to the bottom, it will also be ok, but I did not check :)
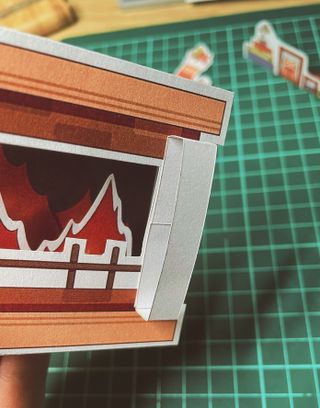
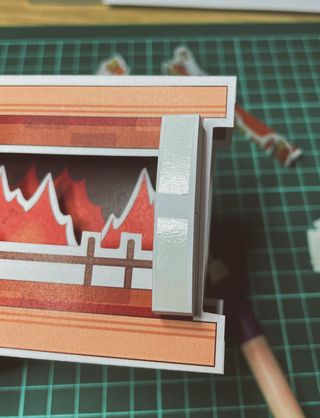
At this stage, it might make sense to glue in the fire slime, but the bottom and the cat have not yet been glued precisely - I'm not sure that it will be possible to accurately calculate the ideal place, so I will glue it later. In the meantime, we glue the bottom of the fireplace.
The next element is a cat, and we will glue it onto a special holder.
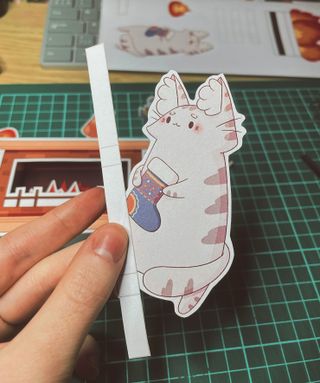
Fold and glue as shown on the photo.
Glue the finished holder on the right side of the fireplace, on its vertical wall.
After it is glued, add more glue (tape) on top and put the fireplace vertically, bring the cat.
It is necessary to glue it so that the cat's lower paws are slightly above the "ground". Therefore, we glue in an upright position, aligning it to the fireplace. The right side of the cat should extend slightly beyond the fireplace.
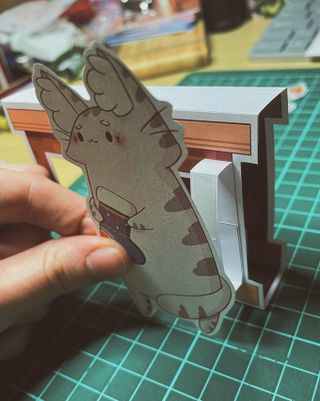
There's a small issue in my example - the cat is slightly tilted, but it also looks cute, as if it bends down slightly.
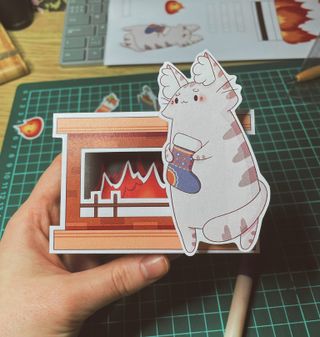
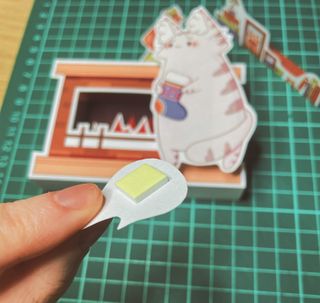
After the cat and the fireplace are glued, proceed to the fire slime. Glue it on a foam tape or make a holder - out of three small ones, just as we did for the cat (the remaining two are for socks).
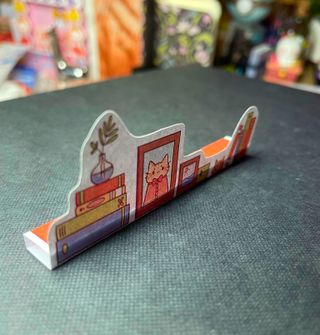
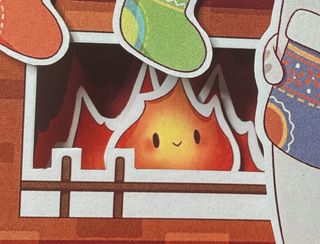
You can glue it as your heart desires, but to follow my idea, you need to adhere to the following rules: the face of the slime should be over the fence of the fireplace; its highest peak should be between the peaks of the flame to which you are gluing, and approximately at the same level. I forgot to take a picture of this stage, so here is a piece from a photo from the future, do not be intimidated by the already glued socks.
Next, glue the shelf on top of the fireplace. Place it in the center near the far wall so that there is volume. Do not be afraid to press while folding along the fold lines.
And the last thing is the socks. Any two socks in any order you like. Glue it on the foam tape or on the two remaining holders, which we glue in the center, since we need the gifts to be at the shelf level, and the bottom of the socks should not overlap the slime.

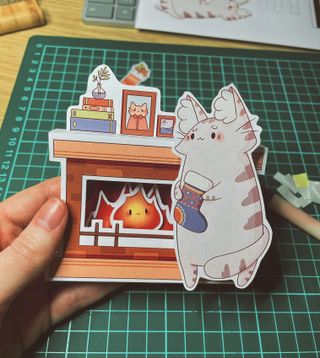
That's all! A little precision and patience, and you have a New Year's cutie on your table. Or someone else's table if you it's a present ♥